What is puppeteer and how to use in web scraping | Complete Guide 2026

Lucas Mitchell
Automation Engineer

Web scraping has become a crucial skill for anyone dealing with data extraction from the web. Whether you're a developer, data scientist, or enthusiast looking to gather information from websites, Puppeteer is one of the most powerful tools at your disposal. This complete guide will delve into what Puppeteer is and how to effectively use it in web scraping.
Introduction to Puppeteer
Puppeteer is a Node library that provides a high-level API to control Chrome or Chromium over the DevTools Protocol. It is maintained by the Google Chrome team and offers developers the ability to perform a variety of browser tasks such as generating screenshots, scraping websites, and most importantly, web scraping. Puppeteer is highly popular due to its headless browsing capabilities, meaning it can run without a graphical user interface, making it ideal for automated tasks.
Redeem Your CapSolver Bonus Code
Boost your automation budget instantly!
Use bonus code CAPN when topping up your CapSolver account to get an extra 5% bonus on every recharge — with no limits.
Redeem it now in your CapSolver Dashboard
.
Why Use Puppeteer for Web Scraping?
Axios and Cheerio are great choices for JavaScript web scraping, but they have limitations: handling dynamic content and circumventing anti-scraping mechanisms.
As a headless browser, Puppeteer excels at scraping dynamic content. It fully loads the target page, executes JavaScript, and can even trigger XHR requests to retrieve additional data. This is something static scrapers cannot achieve, especially with Single-Page Applications (SPAs) where the initial HTML lacks significant data.
What else can Puppeteer do? It can render images, capture screenshots, and has extension to solve various captcha like reCAPTCHA, captcha, captcha . For example, you can program your script to navigate through a page, take screenshots at specific intervals, and analyze those images to gain competitive insights. The possibilities are virtually limitless!
Simple Use of Puppeteer
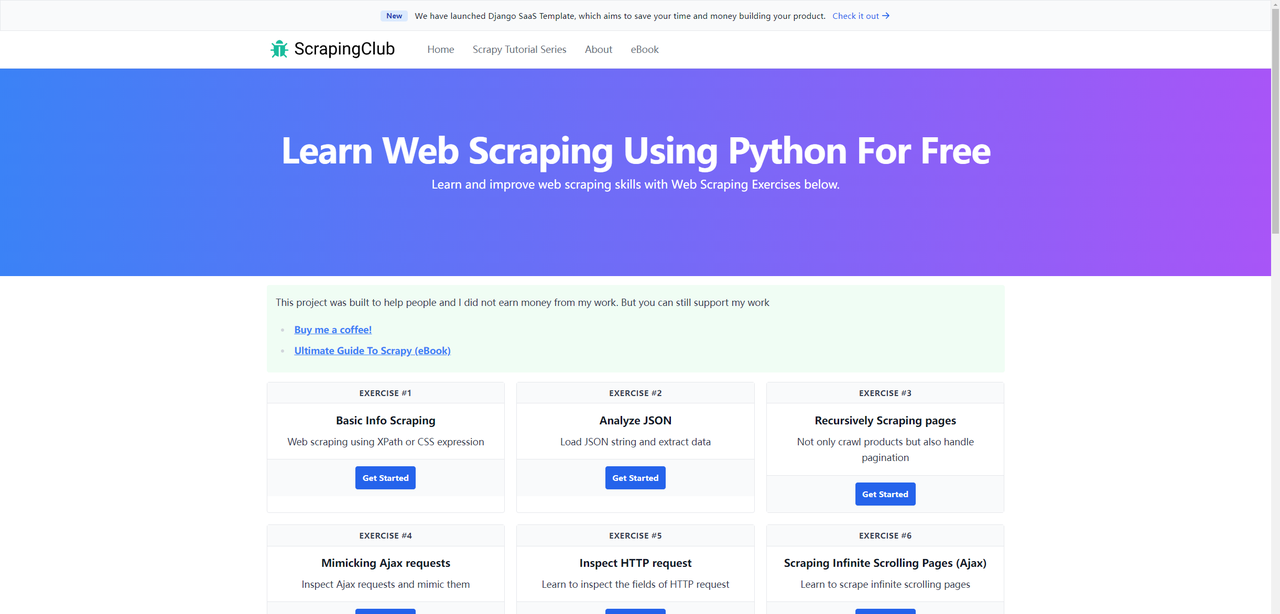
We previously completed first part of ScrapingClub using Selenium and Python. Now, let's use Puppeteer to complete part two
Before we start, make sure you have Puppeteer installed on your local machine. If not, you can install it using the following commands:
bash
npm i puppeteer # Downloads compatible Chrome during installation.
npm i puppeteer-core # Alternatively, install as a library, without downloading Chrome.
Accessing a Webpage
javascript
const puppeteer = require('puppeteer');

(async function() {
    const browser = await puppeteer.launch({headless: false});
    const page = await browser.newPage();
    await page.goto('https://scrapingclub.com/exercise/detail_json/');

    // Pause for 5 seconds
    await new Promise(r => setTimeout(r, 5000));
    await browser.close();
})();
The puppeteer.launch method is used to launch a new Puppeteer instance and can accept a configuration object with multiple options. The most common one is headless, which specifies whether to run the browser in headless mode. If you do not specify this parameter, it defaults to true. Other common configuration options are as follows:
| Parameter | Type | Default Value | Description | Example |
|---|---|---|---|---|
args |
string[] |
Array of command-line arguments to pass when launching the browser | args: ['--no-sandbox', '--disable-setuid-sandbox'] |
|
debuggingPort |
number |
Specifies the debugging port number to use | debuggingPort: 8888 |
|
defaultViewport |
dict |
{width: 800, height: 600} |
Sets the default viewport size | defaultViewport: {width: 1920, height: 1080} |
devtools |
boolean |
false |
Whether to automatically open DevTools | devtools: true |
executablePath |
string |
Specifies the path to the browser executable | executablePath: '/path/to/chrome' |
|
headless |
boolean or 'shell' |
true |
Whether to run the browser in headless mode | headless: false |
userDataDir |
string |
Specifies the path to the user data directory | userDataDir: '/path/to/user/data' |
|
timeout |
number |
30000 |
Timeout in milliseconds to wait for the browser to start | timeout: 60000 |
ignoreHTTPSErrors |
boolean |
false |
Whether to ignore HTTPS errors | ignoreHTTPSErrors: true |
Setting the Window Size
To achieve the best browsing experience, we need to adjust two parameters: the viewport size and the browser window size. The code is as follows:
javascript
const puppeteer = require('puppeteer');

(async function() {
    const browser = await puppeteer.launch({
        headless: false,
        args: ['--window-size=1920,1080']
    });
    const page = await browser.newPage();
    await page.setViewport({width: 1920, height: 1080});
    await page.goto('https://scrapingclub.com/exercise/detail_json/');

    // Pause for 5 seconds
    await new Promise(r => setTimeout(r, 5000));
    await browser.close();
})();
Extracting Data
In Puppeteer, there are various methods to extract data.
-
Using the
evaluateMethodThe
evaluatemethod executes JavaScript code in the browser context to extract the required data.javascriptconst puppeteer = require('puppeteer'); (async function () { const browser = await puppeteer.launch({ headless: false, args: ['--window-size=1920,1080'] }); const page = await browser.newPage(); await page.setViewport({width: 1920, height: 1080}); await page.goto('https://scrapingclub.com/exercise/detail_json/'); const data = await page.evaluate(() => { const image = document.querySelector('.card-img-top').src; const title = document.querySelector('.card-title').innerText; const price = document.querySelector('.card-price').innerText; const description = document.querySelector('.card-description').innerText; return {image, title, price, description}; }); console.log('Product name:', data.title); console.log('Product price:', data.price); console.log('Product image:', data.image); console.log('Product description:', data.description); // Pause for 5 seconds await new Promise(r => setTimeout(r, 5000)); await browser.close(); })(); -
Using the
$evalMethodThe
$evalmethod selects a single element and extracts its content.javascriptconst puppeteer = require('puppeteer'); (async function () { const browser = await puppeteer.launch({ headless: false, args: ['--window-size=1920,1080'] }); const page = await browser.newPage(); await page.setViewport({width: 1920, height: 1080}); await page.goto('https://scrapingclub.com/exercise/detail_json/'); const title = await page.$eval('.card-title', el => el.innerText); const price = await page.$eval('.card-price', el => el.innerText); const image = await page.$eval('.card-img-top', el => el.src); const description = await page.$eval('.card-description', el => el.innerText); console.log('Product name:', title); console.log('Product price:', price); console.log('Product image:', image); console.log('Product description:', description); // Pause for 5 seconds await new Promise(r => setTimeout(r, 5000)); await browser.close(); })(); -
Using the
$$evalMethodThe
$$evalmethod selects multiple elements at once and extracts their contents.javascriptconst puppeteer = require('puppeteer'); (async function () { const browser = await puppeteer.launch({ headless: false, args: ['--window-size=1920,1080'] }); const page = await browser.newPage(); await page.setViewport({width: 1920, height: 1080}); await page.goto('https://scrapingclub.com/exercise/detail_json/'); const data = await page.$$eval('.my-8.w-full.rounded.border > *', elements => { const image = elements[0].querySelector('img').src; const title = elements[1].querySelector('.card-title').innerText; const price = elements[1].querySelector('.card-price').innerText; const description = elements[1].querySelector('.card-description').innerText; return {image, title, price, description}; }); console.log('Product name:', data.title); console.log('Product price:', data.price); console.log('Product image:', data.image); console.log('Product description:', data.description); // Pause for 5 seconds await new Promise(r => setTimeout(r, 5000)); await browser.close(); })(); -
Using
page.$andevaluateMethodsThe
page.$method selects elements, and theevaluatemethod executes JavaScript code in the browser context to extract data.javascriptconst puppeteer = require('puppeteer'); (async function () { const browser = await puppeteer.launch({ headless: false, args: ['--window-size=1920,1080'] }); const page = await browser.newPage(); await page.setViewport({width: 1920, height: 1080}); await page.goto('https://scrapingclub.com/exercise/detail_json/'); const imageElement = await page.$('.card-img-top'); const titleElement = await page.$('.card-title'); const priceElement = await page.$('.card-price'); const descriptionElement = await page.$('.card-description'); const image = await page.evaluate(el => el.src, imageElement); const title = await page.evaluate(el => el.innerText, titleElement); const price = await page.evaluate(el => el.innerText, priceElement); const description = await page.evaluate(el => el.innerText, descriptionElement); console.log('Product name:', title); console.log('Product price:', price); console.log('Product image:', image); console.log('Product description:', description); // Pause for 5 seconds await new Promise(r => setTimeout(r, 5000)); await browser.close(); })();
Get Around Anti-Scraping Protections
Completing the ScrapingClub exercises is relatively straightforward. However, in real-world data scraping scenarios, obtaining data is not always so easy. Some websites employ anti-scraping technologies that may detect your script as a bot and block it. The most common situation involves CAPTCHA challenges such as captcha, captcha, recaptcha, captcha, and captcha.
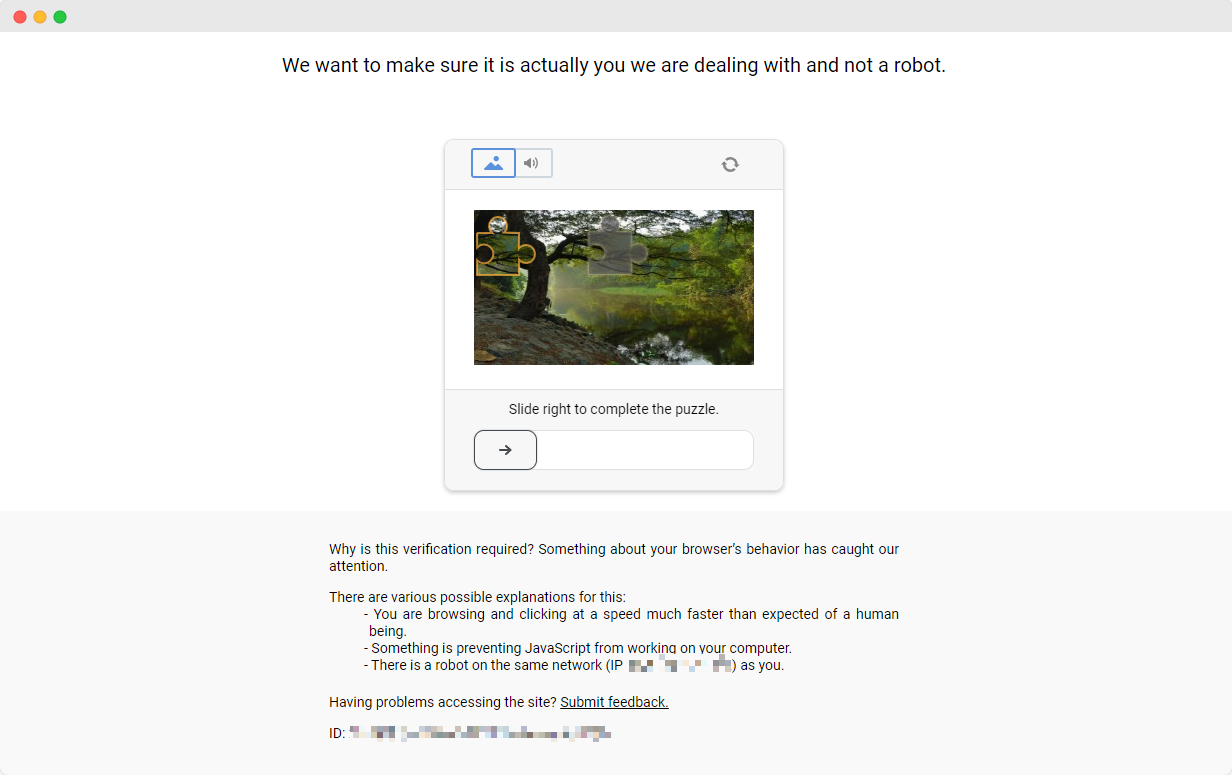
To solve these CAPTCHA challenges, one needs extensive experience in machine learning, reverse engineering, and browser fingerprinting countermeasures, which can take a significant amount of time.
Fortunately, you no longer need to handle all this work yourself. CapSolver provides a comprehensive solution that helps you easily solve all challenges. CapSolver offers a browser extension that allows you to automatically solve CAPTCHA challenges while using Puppeteer for data scraping. Additionally, it provides an API method to solve CAPTCHAs and obtain tokens. All of this can be done in just a few seconds. Check out this document to find out how to solve the various CAPTCHA correspondences you've encountered!
Conclusion
Web scraping is an invaluable skill for anyone involved in web data extraction, and Puppeteer, as a tool with an advanced API and powerful features, is one of the best choices for achieving this goal. Its ability to handle dynamic content and solve anti-scraping mechanisms makes it stand out from the crowd of scraping tools.
In this guide, we explore what Puppeteer is, its advantages in web scraping, and how to set it up and use it effectively. We demonstrate with examples how to access web pages, set viewport sizes, and extract data using various methods. In addition, we discuss the challenges posed by anti-capture technologies and how CapSolver provides a powerful solution to the CAPTCHA challenge.
FAQ
1. What is Puppeteer mainly used for in web scraping?
Puppeteer is used to control a real Chrome/Chromium browser, allowing it to load dynamic JavaScript, render SPA pages, interact with elements, and extract data that normal HTTP-based scrapers cannot access.
2. Can Puppeteer handle CAPTCHA challenges on websites?
Puppeteer alone cannot bypass CAPTCHAs, but when combined with CapSolver’s browser extension or API, it can automatically solve reCAPTCHA, hCaptcha, FunCAPTCHA, and other verification challenges during scraping tasks.
3. Does Puppeteer need to run with a visible browser window?
No. Puppeteer supports headless mode, where Chrome runs without a GUI. This mode is faster and ideal for automation. You can also run in non-headless mode for debugging or visual monitoring.
More
Web ScrapingApr 22, 2026
Rust Web Scraping Architecture for Scalable Data Extraction
Learn scalable Rust web scraping architecture with reqwest, scraper, async scraping, headless browser scraping, proxy rotation, and compliant CAPTCHA handling.
Web ScrapingApr 17, 2026
How to Scrape Job Listings Without Getting Blocked
Learn the best techniques to scrape job listings without getting blocked. Master Indeed scraping, Google Jobs API, and web scraping API with CapSolver.